
Part 1 - Making your first call to CMS
Part 2 - XMPP and CMA
Part 3 - Integrating Core and Edge
Cisco has rebranded the Acano solution to Cisco Meeting Server (CMS), and this post is target to help you to set basic things up and make your first call to a CMS Space and CMS IVR.
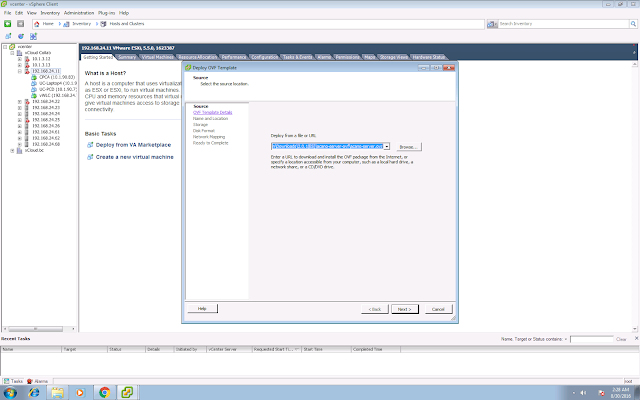
1. First of all, deploy your CMS ova with vCenter.
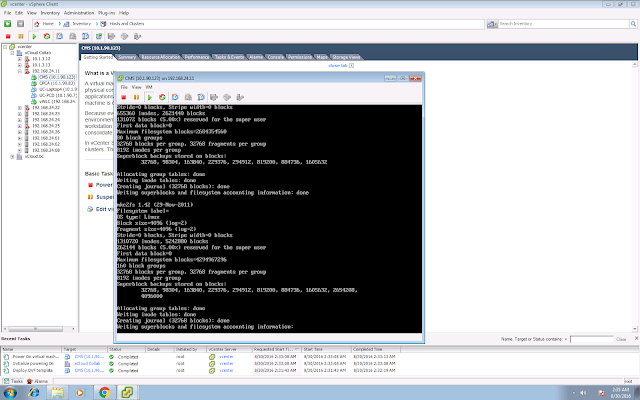
2. It will spend around 10-15 minutes for the first time boot up.
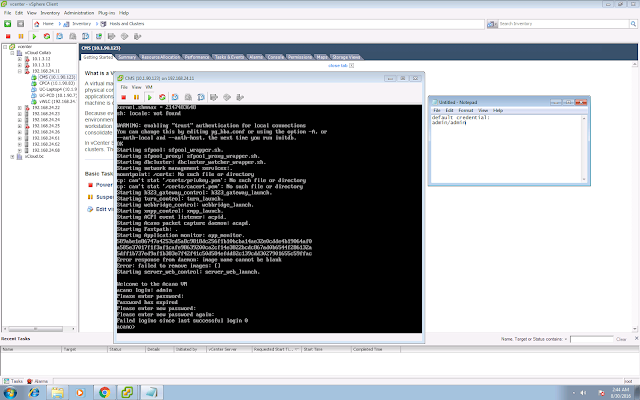
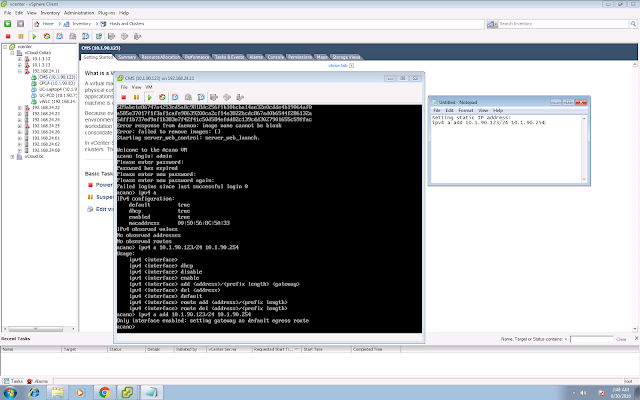
3. Login via CLI. Default credential is admin/admin. You are required to change your CMS admin password for the first time login.
4. You can check your interface configuration with the command "ipv4 a". By default DHCP is enabled.
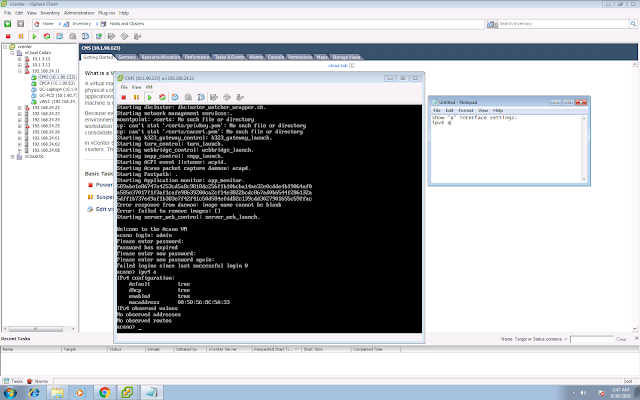
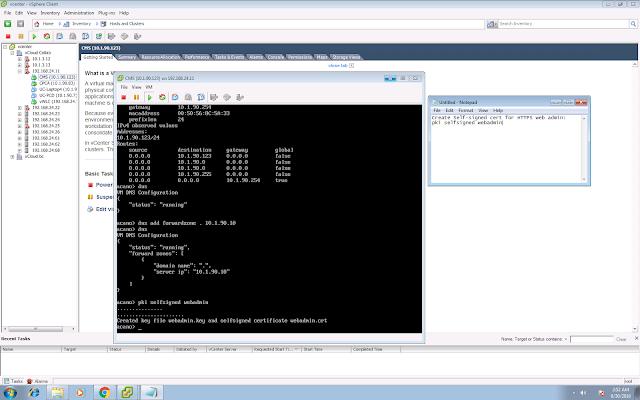
Set your static IP address with the command "ipv4 a add 10.1.90.123/24 10.1.90.254", in my case 10.1.90.123 is the IP address of my CMS, 10.1.90.254 is the default gateway.
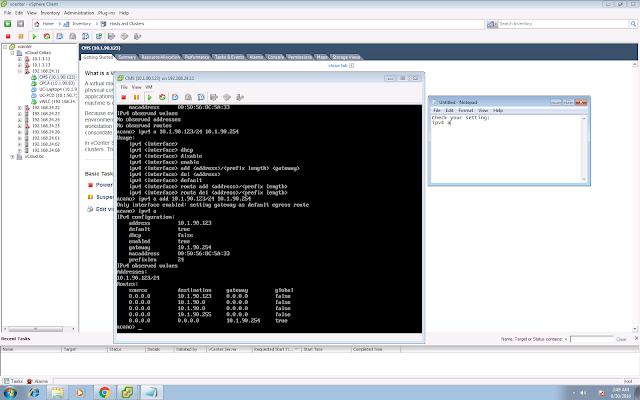
Check your interface configuration again with the command "ipv4 a".
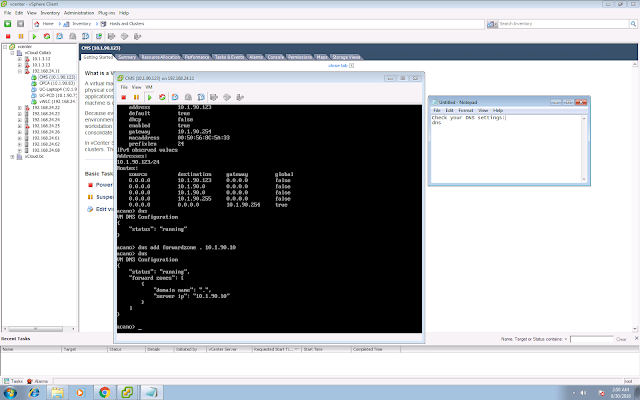
5. You can config your DNS server settings with the command "dns add forwardzone . 10.1.90.10", which will forward all the DNS query (. means all domain) to my DNS server 10.1.90.10.
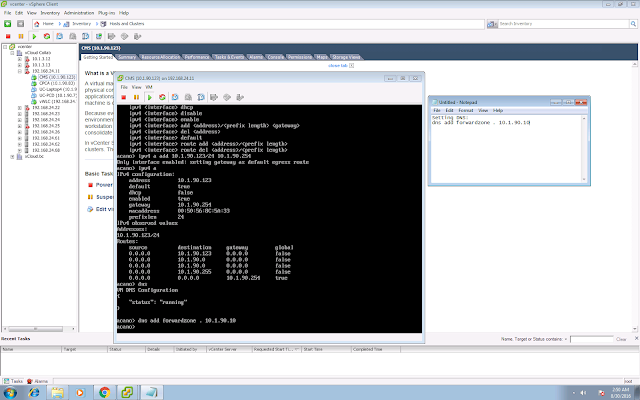
Check your DNS configuration with the command "dns".
6. Create self-signed cert for HTTPS web admin with the command "pki selfsigned webadmin". In this case webadmin will be the filename of your self-signed cert.
7. Config web admin interface access.
webadmin certs webadmin.key webadmin.crt
webadmin listen a 443
webadmin restart
webadmin enable

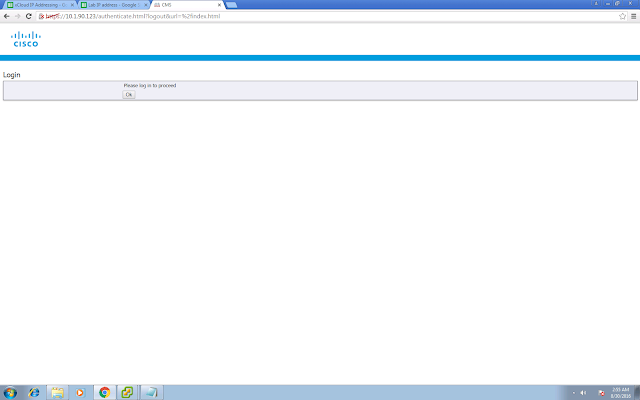
Try to access your web admin page:
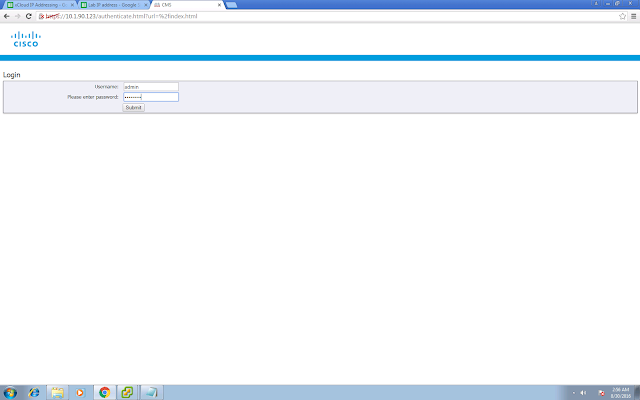
Login with your admin credential:
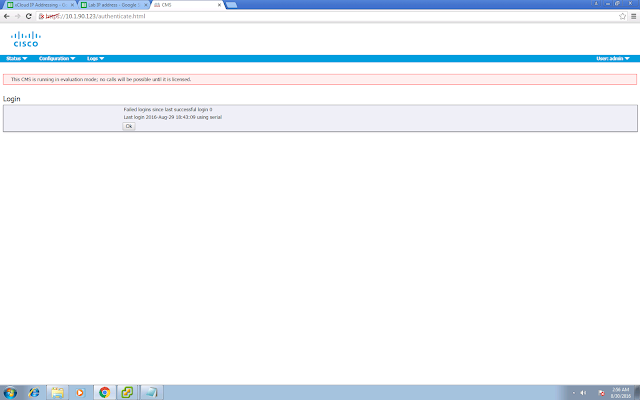
You will see there is a warning saying that CMS is running in evaluation mode as no license is installed.
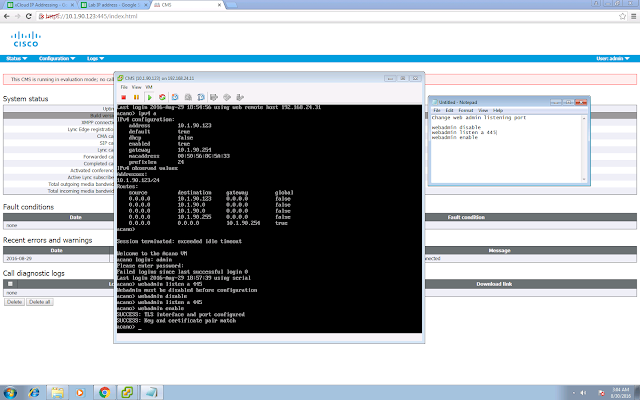
8. If you are going to enable WebBridge (accessible by the WebRTC client), we have to change the web admin listening port from 443/tcp to something else, say for example 445/tcp.
webadmin disable
webadmin listen a 445
webadmin enable
9. Copy the license file to CMS via sFTP or SCP. In my case I used my mac built in sftp client and upload the file to CMS.
sftp admin@10.1.90.123
put cms.lic
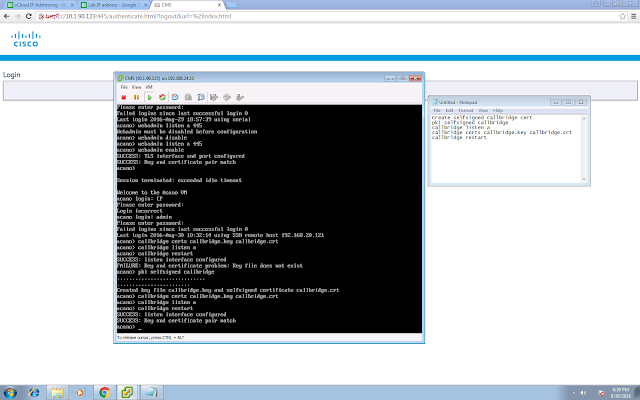
10. Enable and config CallBridge, which is the core components for all the audio and video call terminations.
pki selfsigned callbridge
callbridge certs callbridge.key callbridge.crt
callbridge listen a
callbridge restart
11. Login the admin page again, you should seen something similar to mine below.

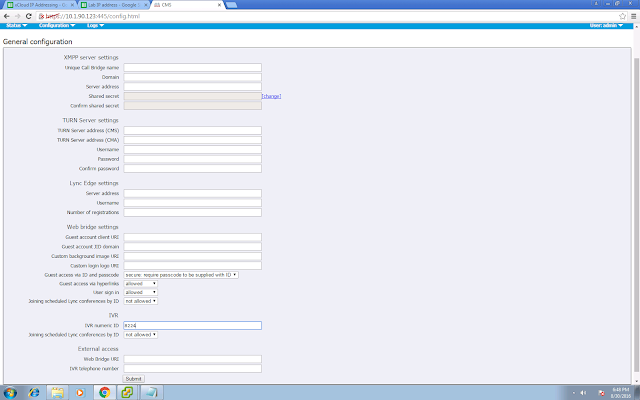
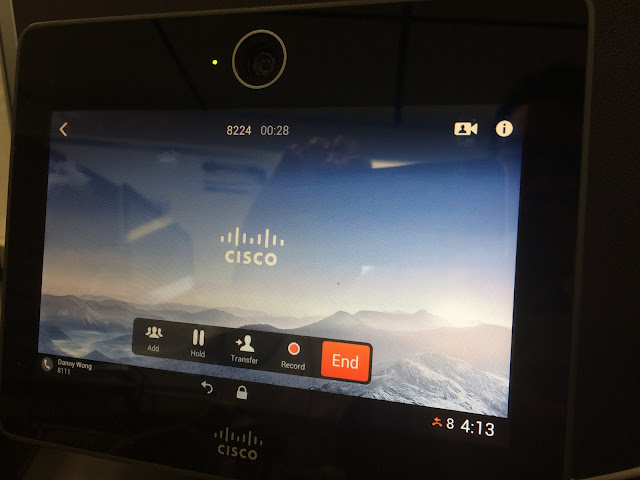
12. Enable IVR, in my case my IVR number is 8224, so when you make a call to 8224, you will see the default Cisco background and listen to the default IVR prompt. The IVR number can be configured in Configuration > General > IVR Numeric ID.
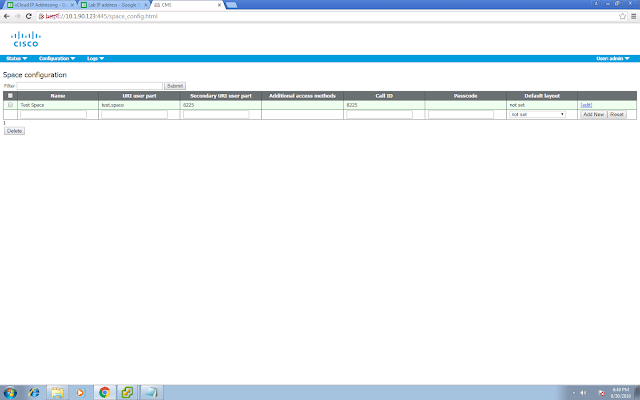
13. You can also create your Space to call in, so that you don't need to key in any Call ID by calling the IVR, by directly calling to the Space.
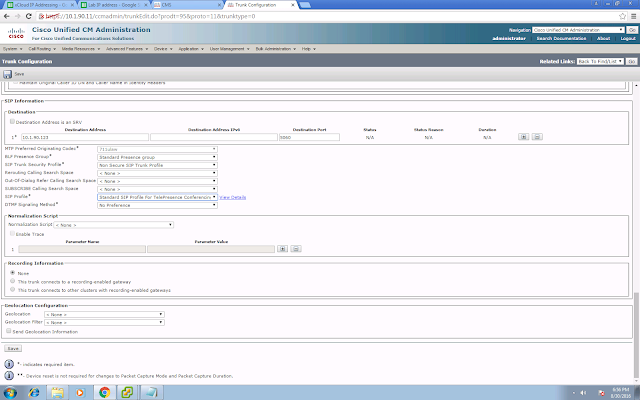
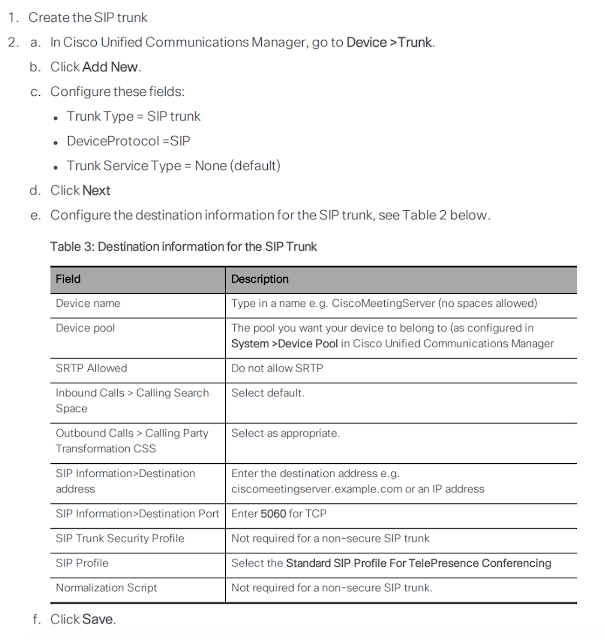
14. You will need to create your SIP trunk on UCM, pointing to CMS. In my case it is a lab environment and I am using a non-secure setting so I don't need to deal with the certs.

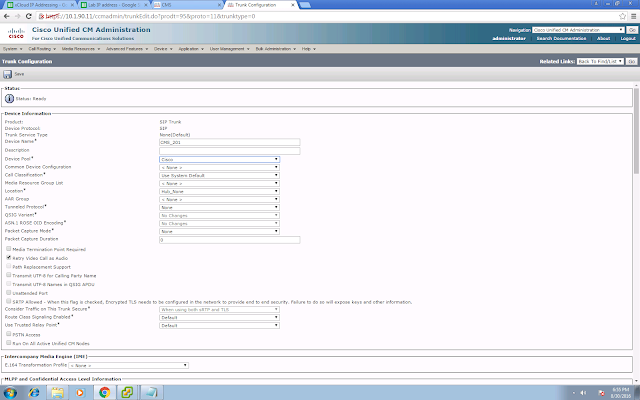
The destination address is your CMS address. You will need to choose the Telepresence Conferencing SIP Profile. No Normalization Script is required.
Extracted from the guide:
15. Config your route pattern. In my case my pattern is 822[45].
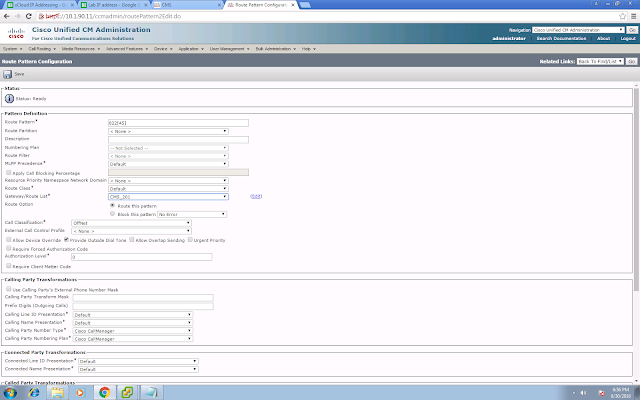
Try to place your test call. You should now able to call your IVR number (8224 in my case) and Space number (8225 in my case) from your UCM-registered devices.
Part 1 - Making your first call to CMS
Part 2 - XMPP and CMA
Part 3 - Integrating Core and Edge
Part 2 - XMPP and CMA
Part 3 - Integrating Core and Edge
Cisco has rebranded the Acano solution to Cisco Meeting Server (CMS), and this post is target to help you to set basic things up and make your first call to a CMS Space and CMS IVR.
1. First of all, deploy your CMS ova with vCenter.

2. It will spend around 10-15 minutes for the first time boot up.

3. Login via CLI. Default credential is admin/admin. You are required to change your CMS admin password for the first time login.

4. You can check your interface configuration with the command "ipv4 a". By default DHCP is enabled.

Set your static IP address with the command "ipv4 a add 10.1.90.123/24 10.1.90.254", in my case 10.1.90.123 is the IP address of my CMS, 10.1.90.254 is the default gateway.

Check your interface configuration again with the command "ipv4 a".

5. You can config your DNS server settings with the command "dns add forwardzone . 10.1.90.10", which will forward all the DNS query (. means all domain) to my DNS server 10.1.90.10.

Check your DNS configuration with the command "dns".

6. Create self-signed cert for HTTPS web admin with the command "pki selfsigned webadmin". In this case webadmin will be the filename of your self-signed cert.

7. Config web admin interface access.
webadmin certs webadmin.key webadmin.crt
webadmin listen a 443
webadmin restart
webadmin enable

Try to access your web admin page:

Login with your admin credential:

You will see there is a warning saying that CMS is running in evaluation mode as no license is installed.

8. If you are going to enable WebBridge (accessible by the WebRTC client), we have to change the web admin listening port from 443/tcp to something else, say for example 445/tcp.
webadmin disable
webadmin listen a 445
webadmin enable

9. Copy the license file to CMS via sFTP or SCP. In my case I used my mac built in sftp client and upload the file to CMS.
sftp admin@10.1.90.123
put cms.lic
10. Enable and config CallBridge, which is the core components for all the audio and video call terminations.
callbridge certs callbridge.key callbridge.crt
callbridge listen a
callbridge restart

11. Login the admin page again, you should seen something similar to mine below.

12. Enable IVR, in my case my IVR number is 8224, so when you make a call to 8224, you will see the default Cisco background and listen to the default IVR prompt. The IVR number can be configured in Configuration > General > IVR Numeric ID.

13. You can also create your Space to call in, so that you don't need to key in any Call ID by calling the IVR, by directly calling to the Space.

14. You will need to create your SIP trunk on UCM, pointing to CMS. In my case it is a lab environment and I am using a non-secure setting so I don't need to deal with the certs.


The destination address is your CMS address. You will need to choose the Telepresence Conferencing SIP Profile. No Normalization Script is required.

Extracted from the guide:

15. Config your route pattern. In my case my pattern is 822[45].

Try to place your test call. You should now able to call your IVR number (8224 in my case) and Space number (8225 in my case) from your UCM-registered devices.

Part 1 - Making your first call to CMS
Part 2 - XMPP and CMA
Part 3 - Integrating Core and Edge
6 comments:
How long is the trial?
You can contact your Cisco account team to get the trial license.
Great ! Please keep up the good work.
I am having an issue to directly dial into the Space number, "2605" as URI user part and Call ID in space configuration.Any suggestion? thanks.
2016-12-15 19:22:16.928 Info call 22: incoming SIP call from "sip:2001@lab.com" to local URI "sip:2605@cms01.lab.com:5060"
2016-12-15 19:22:16.939 Info call 22: ending; local teardown, destination URI not matched - not connected after 0:00
I have fixed this issue with adding incoming rule.
Thank you for all these wonderful posts on your blog, I greatly appreciate them. They are very helpful.
I am having a problem trying to set this up in a lab test environment. I have tried both versions 2.0.3 and 2.0.7. The install and initial configuration go smoothly, however, when I get to the web portion, I never make it to the login screen, I only get the Cisco Web-page showing "Reconnecting". And so far, I have not found any help on the web. Do you have any suggestions? Can you please help?
Thank you
Post a Comment